Mastering iOS App Development: The Role of SwiftUI and Xcode
Do you think iOS app development is something you should know? If yes, you are on the right platform. Today’s technological era is bringing a lot of attention to developing iOS apps by employing different frameworks. SwiftUI and Xcode are some of the trending
iOS app development frameworks that can make this development easy. SwiftUI is mostly employed when the developer wants to generate the frontend codes and the Xcode is employed when the developer wants the backend codes.
Applications for Apple platforms can be created, tested, and released with its help. It provides improved code completion, interactive previews, and live animations which results in quicker and more secure iOS apps. Git Staging can be used to create commits without having to leave your code. Xcode15 comes up with newly developed test reports that include video recording, examining, and interpreting your test findings, and begin smoothly deploying from Xcode Cloud to TestFlight and the App Store.
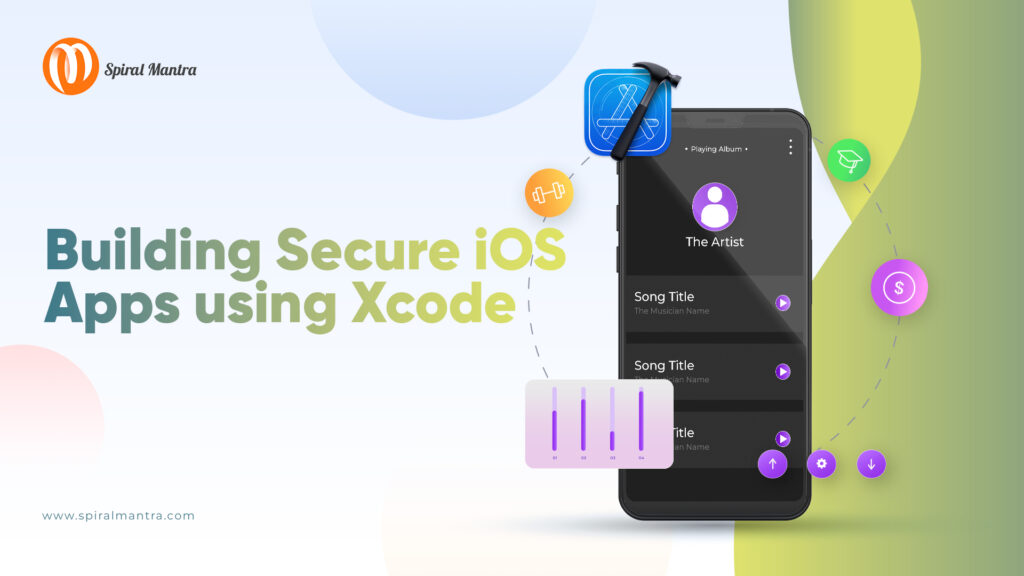
Using Xcode build scripts to secure secrets in iOS applications
The users of iOS apps may require to save some private data. These apps can be made secure by the help of different methods. Our
iOS developers can directly store sensitive data in swift files as hardcoded strings, but this is quite dangerous since it exposes your secrets within your repository. This data can be stored using a combination of .xcconfig and .plist files to prevent this danger. This keeps the information out of the repository, but it makes it very simple for anyone to extract .plist files from the .ipa file.
Therefore, to prevent this information from being saved in the app bundle or VCS, they must be injected straight into the application during build time. For this, several third-party dependencies, such as cocoapod-keys can be employed. Python and Xcode scripts can be used to introduce this sensitive information during build time.
How to Use XCode to Develop iOS Apps
We'll go over every step required for success in the Apple App Store, from configuring the development environment to developing code, automating testing, and submitting an app for approval.
Step 1: Configuring Xcode
Installing and downloading it on your Mac is the first step. Launch after it has been installed successfully and begin a new project.
Step 2: Selecting a Template
Users have a selection of templates to choose from. Pick the one that most closely resembles the type of application you're using. A couple of the typical templates are as follows:
- One-View App
- Augmented Reality App
- Game App
- Tabbed App
Step 3: Set Up Your Initiative
You will need to enter project information in the next stage. In addition to choosing the organisation and programming language to use, you will need to jot down the name of the project.
Additionally, you have the option to specify which devices your application will run on and whether it should be in portrait or landscape mode.
Step 4: Create a User Interface Design
The main editing window will now appear. Users will create and develop the user interface of the app here. This is where you design the initial view of the app and add further UI components.
Step 5: Write Your Code
It's time to get some code written. Users can write Swift or Objective-C code in Xcode with ease. To launch the code editor, click the view controller in the storyboard. You'll notice that some boilerplate code has been produced for you. The only code in charge of handling events and presenting the user interface of your program is this one.
Step 6: Test Your App
Once your software is finished, it must be tested. When you select Run, the simulator will start. The simulator allows you to test your software on a virtual iPad or iPhone. The simulator displays your application in action. Try it out correctly by pressing buttons and navigating the user interface of your program.
Step 7: Publish Your App
Ultimately, once your program has undergone final testing and development, it must be published in the program Store. Although this is a very complicated topic, the following are some of the fundamental steps:
- Create an account as an Apple Developer.
- Create an app ID.
- Create a provisioning profile.
- Set up your provisioning profile and app ID in your Xcode project.
- Create and archive your app.
- Send in your software for evaluation to the Software Store.
Conclusion
Using Xcode to build iOS apps is a fulfilling project that may give a person or company the means to produce an experience that is both lasting and unforgettable. You have all the cutting-edge tools and strategies needed to get started straight away with an expert tutorial like this one.
Spiral Mantra is here to make the process of
mobile app development easier. They are dedicated to giving you the direction and assistance you need to create an app that will completely transform your consumer experience.